Introduction
Welcome to the first project in our ten React project journey.
If you want to check out the roadmap of our journey, you can read this blog post.
In this tutorial, we will explore how to build a user-friendly word counter using React JS. The word counter is an essential tool for content creators (or bloggers like me) as the count of words is an important factor for various contents. By leveraging the power of React JS, we can create a responsive and interactive word counter that enhances the writing experience.
Let’s dive in and learn how to build this useful tool step by step.
Design and requirements
Here are the design and requirements that are needed to complete the tutorial.
If you want to practice building the app by yourself, you can refer to these and build the app. If you want to code along with me, you can read through and follow the step-by-step guide.
Design
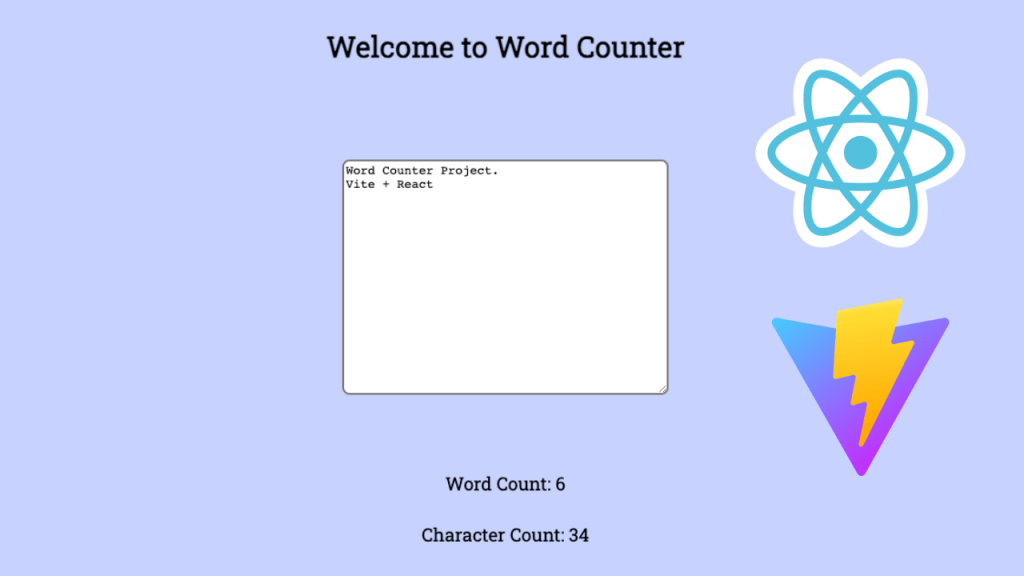
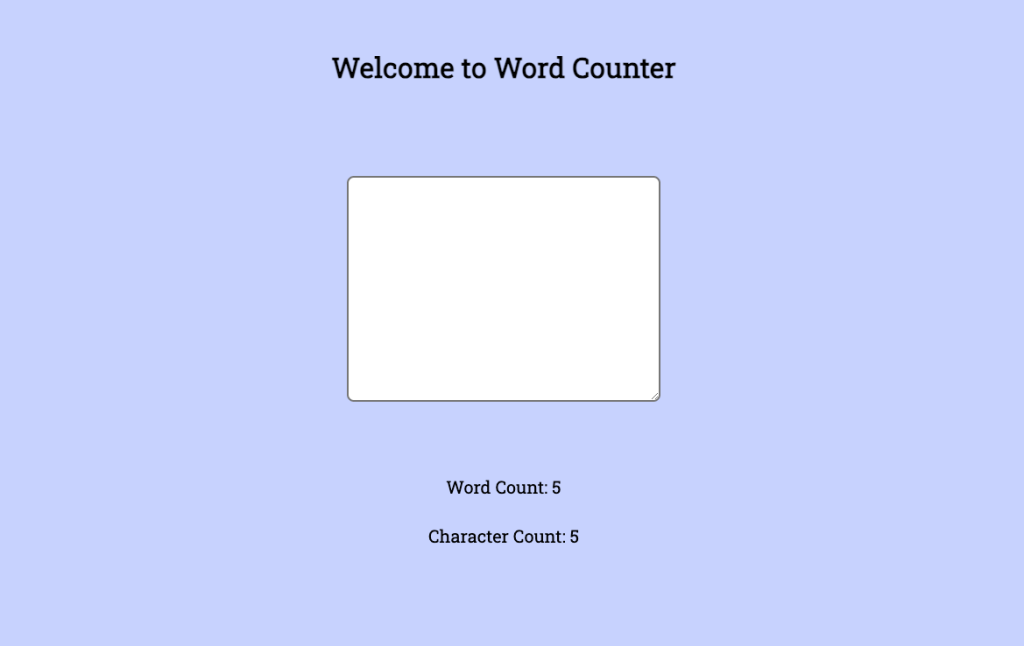
This image is the final outcome of our word counter application.
It’s absolutely fine if your app differs slightly from mine. You have the freedom to choose the background color, font size, font color, and other design elements according to your preferences.
However, for your reference, here are the design elements I’ve used.
– Background color: rgb(199 210 254)
– font-family: ‘Roboto Slab’, serif
Requirements
Here are the requirements for what the word counter app should do once you complete the tutorial.
The word counter app can:
– Calculate how many words are typed
– Calculate how many characters are typed
Now that we know what the design and requirements are, let’s start building the app!
Code Examples
I explain each step with code examples that are corresponding to the section. However, if you want to check out the whole code, please visit this Word Counter GitHub repo.
1. Setting up React app
There are many ways to set up a React application. If you go on the official React website, it will show you what you can use to set up the app. Nowadays, Next.js is a popular way to set up the app because of its well-known server-side rendering feature.
However, since our word counter app is only front-end and doesn’t require any server-side rendering, we are going to use Vite as our initial setup framework. If you want to read about Vite, you can go to the Vite official website.
Scaffolding with Vite
In order to create a project with Vite, we need to make sure that we have Node.js and npm (node package manager) installed in our local system.
To find out whether Node.js and npm are installed in the system, run these commands after you open a command prompt (Windows users) or a terminal (Mac & Linux users).
node -v
npm -v
If Node.js and npm are already installed, that’s great. If not, you need to install them from the Node.js website.
NOTE: You don’t need to install npm separately. If you download Node.js, it will install npm at the same time.
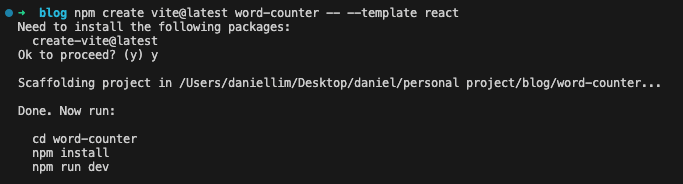
Next, check the version of npm installed on your system. If your npm version is 7+, run this command.
npm create vite@latest word-counter -- --template reactIf your npm version is 6.x, run this command:
npm create vite@latest word-counter --template reactBy running this command, we are scaffolding a project named word-counter with React based on JavaScript.
If the command has successfully run, you would be able to see a message like this:
Now, follow the instruction from the message and run these commands.
  cd word-counter
  npm install
  npm run dev
To briefly explain what these do, you will go into the word-counter folder that you just created, install the necessary node packages, and execute the local development server using React.
If you click the link that is created (http://localhost:5173/ in my case), it will open up the Vite + React page.

Congratulations, you just successfully scaffolded React + Vite app!
Now, let’s create a basic HTML structure of the app and implement CSS to match the design we’ve implemented in the beginning.
2. Implement HTML and CSS
First things first, as the scaffolded page looks beautiful as it is, unfortunately, we don’t need any of them.
So, let’s delete what’s not necessary.
Delete everything inside App.css and index.css.
Perfect, now let’s implement HTML we need.
Implement HTML
Since our word counter app is a fairly simple app, we are going to directly modify App.jsx.
Notice that we have className instead of class. The className is React version of class.
This is pretty straightforward, but let me explain what I’ve done.
I’ve created three divs. One for our application header, one for textarea for users to type in, and the last one for showing our results.
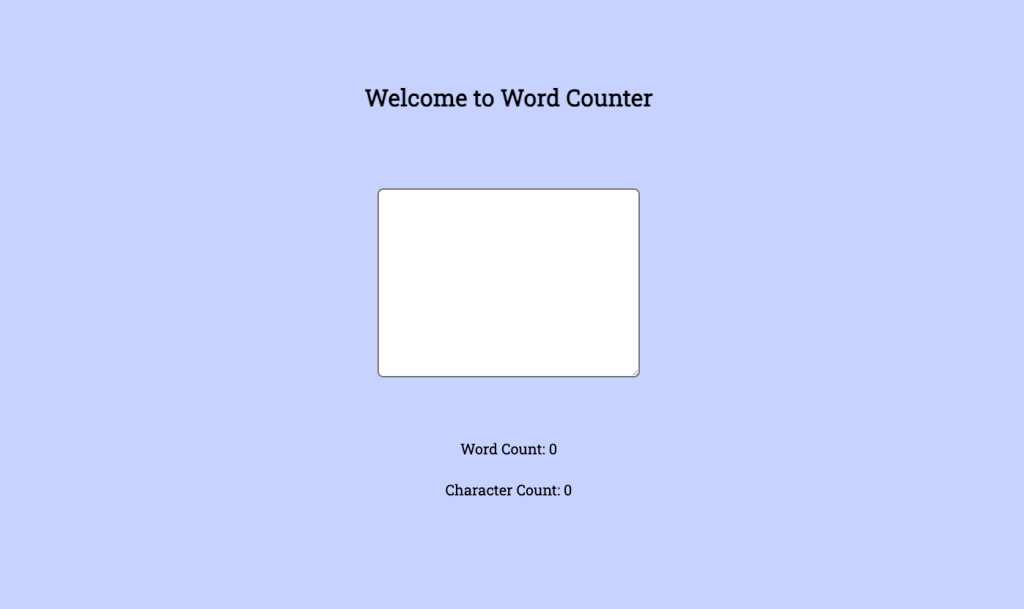
Great, this is what our page looks like.
It’s got the basic structure, but it doesn’t look appealing to use, does it?
Implement CSS
In the modern days, the design of the website is equally as important as the functionalities that the website can provide or even more.
That being said, let’s make our app look more appealing to its users.
Here is App.css to give styles to App.jsx.
And here is index.css to give styles for the entire app.
I’ve used Google Fonts to apply font style to my version of the word counter app.
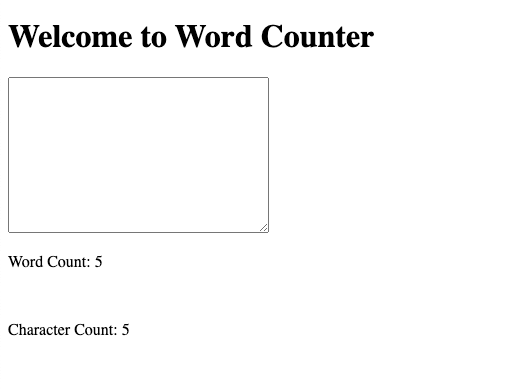
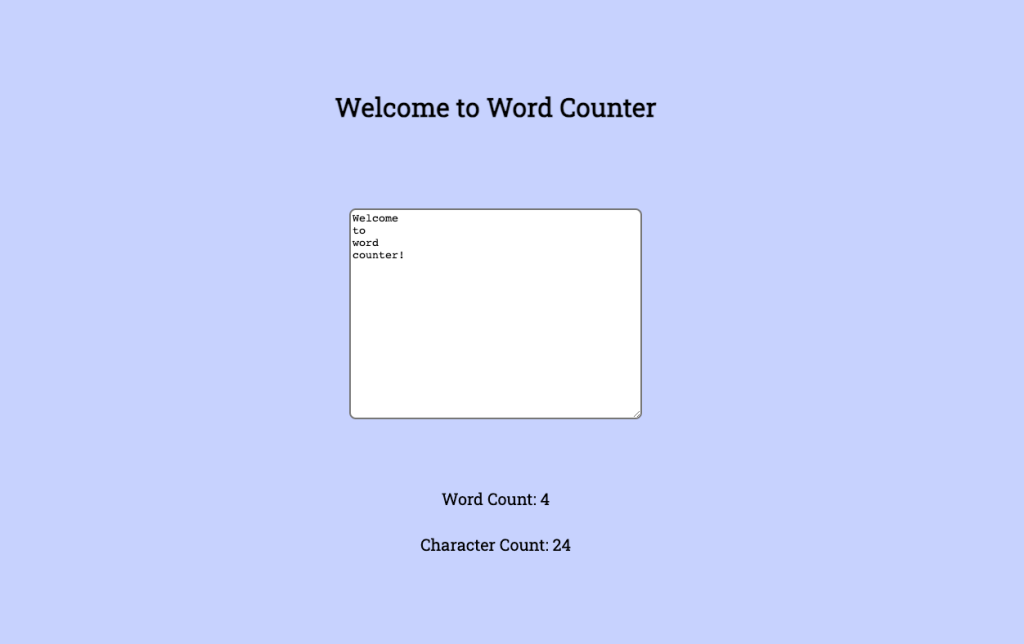
Awesome! Our app should look like this by now.
Let’s dive into the most fun part of this tutorial.
3. Implement Functionalities To Count Words And Characters
Before we start writing codes, let’s think about how we can achieve this.
In order to display word or character counts dynamically, the following steps would need to be made.
1. Get the value of being typed in the textarea
2. Count the words or characters
3. Display the word or character counts on the page
In React, we have a concept called state. A state is used to manage and update data within components. When a state is updated, React automatically re-renders whatever DOM elements that are using that state.
This means that we can store the word count and character count as state. Since the App.jsx is a functional component, we are going to use the useState hook.
Let me explain what’s going on here. The characterCount and wordCount are the states where the values are going to be stored. The setCharacterCount and setWordCount are the methods (setters if you are familiar with OOP) that we use to set the values into characterCount and wordCount. The 0 in useState(0) is the initial value of characterCount and wordCount.
NOTE: Make sure you import useState from react as well.
Since we have places to store values, let’s implement the functionality to retrieve the counts of words and characters.
What happened from the code above? I implemented a function that handles the onChange event on the textarea. So, whenever a user types a character, the handleCountChange will be called.
For the character count, we count whatever the user types. It doesn’t matter whether the letter is a space, enter, or special character.
For the word count, we need to think a bit harder than character count. We need to group characters separated by any whitespace (spaces, enters, and tabs). What we are doing here is that we retrieve the value from the textarea and then split it into strings of an array whenever we bump into any whitespace.
Note that we have setCharacterCount method and setWordCount method inside the method handleCountChange. Normally, in the JavaScript world, these methods will be called as soon as the flow of execution reaches them.
However, it is important to know that if setState(s) are called inside another method, they are executed after it exits the main method. For example, in our case, setCharacterCount and setWordCount are called after handleCountChange finishes.
Dynamically Re-render States
There is nothing we need to re-render the DOM elements if we are using React. As I mentioned above, if our code calls any of the setState method, the corresponding DOM element will be updated automatically.
But, how do we show the values of states in HTML tags?
We can use curly braces to achieve this.
Conclusion
Now, this wraps up our first React project step-by-step tutorial. Congratulations on building your first Word Counter app!
From this tutorial, we were able to learn:
– How to set up a React app with Vite
– How to create states and set states through setState hooks
– How to handle the onChanage event
– How to render states inside HTML tags
As you can see React is a simple but powerful framework to create a web application. We will explore more features and techniques in other tutorials that I’m going to write in the future.
In the meantime, check out my other blog post showcasing the exciting projects to come. Stay tuned for more updates!
Thank you for reading. I hope you enjoyed the tutorial following through.
If you have thoughts on this, be sure to leave a comment.
I also write articles on Medium, so make sure to check them out on medium/@codingnotes.
Happy coding!


nice tutorial.
Hi Amir,
Appreciate it!