Introduction
Welcome to the second project step-by-step tutorial in our 10 Best React JS Projects For Beginners In 2023 journey.
In this tutorial, we are going to build an image slideshow or slider with React JS utilizing Vite, React-Icons, and Axios. An image slideshow is a very effective way to showcase images for websites and catch visitors’ attention quickly. Lots of modern-looking websites that have great designs utilize this feature.
The image slideshow or slider particularly goes well with React JS, because React JS is a very responsive and interactive framework.
Let’s get started and build this dynamic slideshow app.
Design and Requirements
These are the design and requirements to successfully build the image slideshow application.
If you want to try to build the application by yourself, you can refer to this section and give it a go. If you are still learning React, then don’t worry. This step-by-step tutorial will guide you on how to do it in detail.
Design
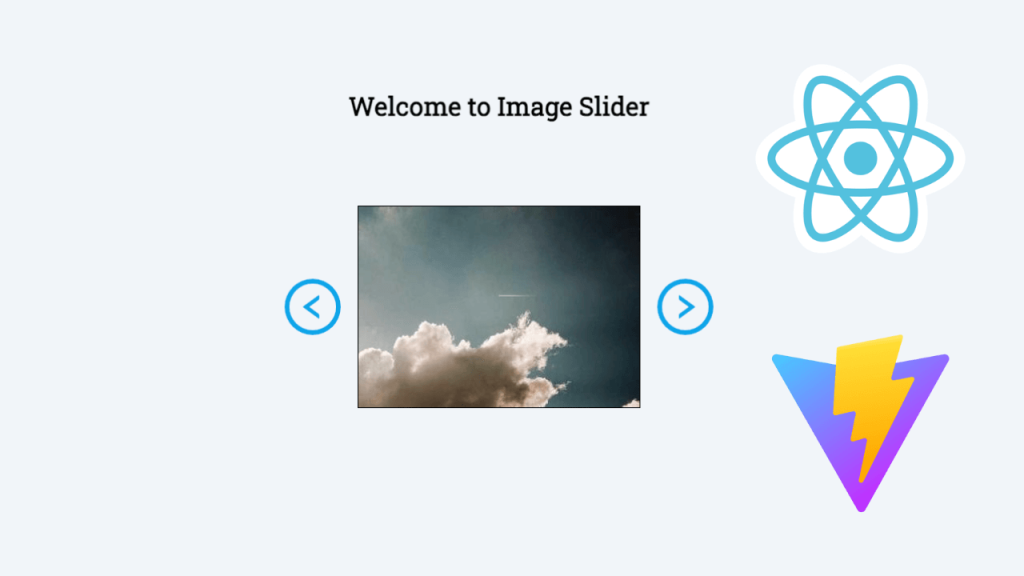
The image below is the final outcome of our image slideshow application.

Note that this is the design that I’ve implemented. Feel free to change it with your choice of font, font size, color, etc.
However, if you want to follow along and make the application look just like mine, here are the design elements I’ve used.
– Background color: rgb(241 245 249)
– font-family: ‘Roboto Slab’, serif
– icons: AiOutlineLeftCircle, AiOutlineRightCircle, TbLoaderQuarter from react-icons
Requirements
These are the requirements of the image slideshow application.
The image slideshow or image slider can:
– Show a random image when the image is fetched
– Show another image by clicking the previous or next button
– Show loading icon and message when the image hasn’t fetched
Since we have the design and requirements all laid out, let’s get our hands dirty and start building the image slideshow application.
I explain each step with the corresponding code examples, but if you want to check out the whole code of the image slideshow application, you can visit the Image Slider GitHub repo.
Setting Up React App
Like we did in our first project (Word Counter), we are going to use Vite as our scaffolding tool.
I’ve already explained how to scaffold the project with Vite, but I will briefly show how to do it again.
First, check whether npm and node are installed on your local machine.
node -v
npm -v
If they are not installed, please check out the section scaffolding with Vite from Word Counter and install them.
If they are installed, run this command to scaffold the project.
# For npm version 7+
npm create vite@latest image-slider -- --template react

# For npm version 6.x
npm create vite@latest image-slider --template react
Now, run these commands to start the local server.
  cd image-slider
  npm install
  npm run dev
Then, if you open the link, you should be able to see the running React JS app scaffolded by Vite.

Implement HTML and CSS
Note that this section covers the basic HTML structure and CSS of our app. Additional tags/components will be added accordingly to each section as we go.
Let’s delete the things that we don’t need for the image slideshow app. You can delete everything in App.css and index.css.
Implement HTML
We are going to use App.jsx as our main template to build the HTML structure that we want.
Once it’s done, you will see the application look like this.

Implement CSS
I think our image slideshow application deserves a better look than this plain (almost nothing) appearance. Let’s give it some proper layouts and colors in the App.css and index.css.
App.css
index.css
Perfect, now you should be able to see some colors and a better layout. Following is what the application looks like after applying CSS.
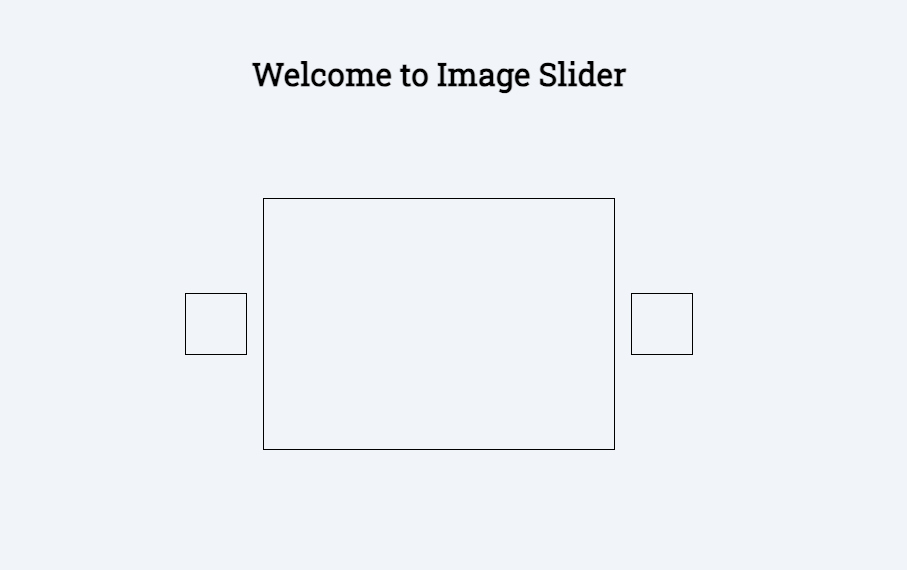
Those boxes with black border lines are the placeholders to show where the image and buttons are going to be located. So, don’t worry, they will be changed in the later section of this tutorial.
Add Previous And Next Buttons
We are going to add button icons that would work as our previous and next buttons. The purpose of these buttons is to change the current image to a previous or next image.
There is a handy node package to insert icons into React JS app. The package is called react-icons. You can find the official document on this react-icons GitHub repo. You can also browse what icons the package has from this react-icons GitHub icon library page.
Let’s install the react-icons package first.
npm install react-icons --saveNext, import the icons of your choice and use them in our App.jsx.
Let’s give them some styles as well.
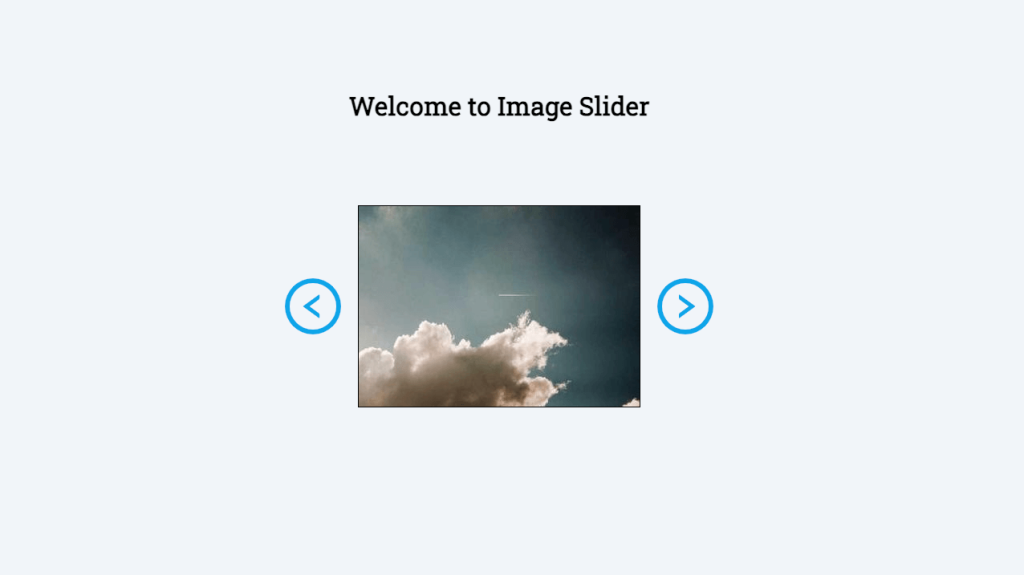
If you check out how the application looks, it should look like the following image.
Amazing, now we have two user-friendly buttons for the previous and next images.
Fetch Images From Lorem Picsum API
The images we are using to display in the image slideshow application are from an API called Lorem Picsum. You might have seen some random texts that start with “Lorem Ipsum” which is used to play as a placeholder for mockups. The Lorem Picsum is the same thing but with pictures!
Here is the Lorem Picsum official website for their API, and I’ve found a useful website that can help us to implement our code.
First things first, we need to be able to send a request to their endpoint (URL that they provide). How can we do that? There are many ways to send a request in JavaScript. For example, there is a built-in HTTP module that is provided by Node.js. There are also other popular ways like fetch API or Axios package.
In this tutorial, we are going to use Axios but feel free to use your choice of method. Like we do for all other node packages, let’s install the package first.
npm install axiosThen, make a call to the Lorem Picsum API endpoint. We are going to test first using the most basic endpoint.

Great! We’ve just successfully called an external API and displayed an image to our application.
Wait a second, did you notice that your application actually renders two different images in a very short time? This is because of the strict mode that is enabled in our React JS application.
If you are not familiar with the strict mode in React JS, you can read about it here.
It is actually recommended to have the strict mode in the development stage, however, we are going to turn it off in this tutorial.
Alright, let’s move on to the next step. Since we are building an image slideshow, we would need to have multiple images in our hands, wouldn’t we? Let’s make multiple calls to randomly fetch images and store them in one of our states.
Let me explain what’s happening here. We are using useEffect hook that is invoked after the components are rendered initially. Then the getImages method is called which is calling the Lorem Picsum API endpoint multiple times with different numbers inside the for loop. The getImages method is async method, so we await the response and then once we get the response, we create a new object, push the object to the data state, and finally set the local newData array as the data state.
NOTE: If you are not familiar with async/await, I wrote an article that explains it in another article in this blog – Introducing Synchronous, Asynchronous, and Async/Await.
There is a small detail that you might have noticed, that’s right. It’s the check we are doing before the <img> tag. If we don’t check whether there is something inside the data, initial rendering will fail because we don’t have data[2].url. You can’t just do data && ... either because even though the data is initialized with an empty list, it already exists.
Great job on following through up to this point! There is a small improvement we can make to make our image slideshow application better. Did you notice that there is a tiny delay until an image shows up and in the meantime, an empty box is showing? That’s what we are going to work on next.
Add The Loading Icon And Message
As we just mentioned in the section above, we are going to create something while the image is loading. The loading icon and message can be very helpful if it takes some time for the website to bring its resources. Imagine waiting for a couple minutes looking at a blank page. Having a loading icon and message lets your users know that there is something going on at least and keeps them stay in the website.
Here is the code that I’ve added or modified in App.jsx.
We’ve changed the check that we used to render the <img> tag to a conditional rendering. What this is saying is, if we have something inside the data, then we are going to render an image, otherwise, we will render a loading icon and a message.
Here is the App.css to give the loader a better look.
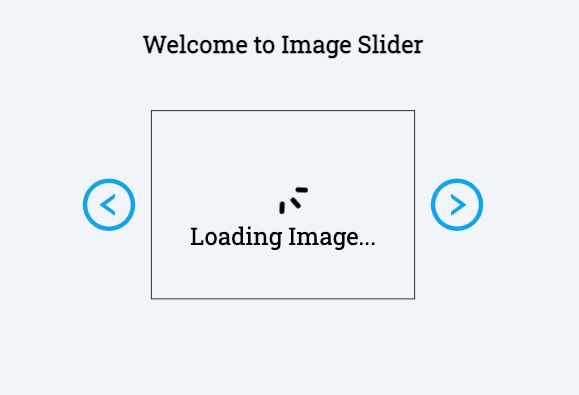
We have a much better chance to keep our readers on our website now.
Implement Functionality of Buttons
We have two buttons – previous and back. For example, if the currently showing image is the second image out of five images, if we click the previous button, the image will change to the first image and if the next button is clicked, then the third image will show up.
Before we implement the code, let’s think about what needs to be done. First, we need to have a state that holds the index that is currently displayed. Second, we click on either the previous or next button. Third, once we click the button, the index will be changed by -1 or +1. But remember that, if there is no image to the left or right anymore, we should stay at the current image.
Now that we’ve laid out our thoughts, let’s implement this as code.
We’ve created a state called currentIdx and this state will be changed depending on a button clicked. We’ve written two event handlers, one for each button. Finally, the currentIdx state was used to access the data.url.
The handlers (the methods that handle the onClick event) for both buttons are very similar. This is when we know that we need to refactor the methods and optimize them.
Conclusion
This wraps up our second React JS step-by-step tutorial. Great job on following through until the end.
From this tutorial, we were able to learn:
– How to set up React JS with Vite
– How to call an external REST API using Axios with useEffect hook
– How to implement an event (onClick) handler
– How to use React-icons
If you want to improve your skills more, then explore more and try to implement some additional features. Some ideas that I can think of to improve this app are like following:
– Create a button to randomize the images
– Grey out the previous or next button when it reaches the leftmost or the rightmost image
– Show the image information when the image is clicked
I hope you enjoyed the tutorial and thank you again for reading. If you are interested in building more React JS projects for beginners, then you can check out our 10 Best React JS Projects For Beginners In 2023 post.
If you have thoughts on this, be sure to leave a comment.
I also write articles on Medium, so make sure to check them out on medium/@codingnotes.
Happy coding!