Introduction
Welcome to the third project step-by-step tutorial in our 10 Best React JS Projects For Beginners In 2023 journey.
In this tutorial, we are going to build a simple random quote generator with React JS utilizing Vite, React Hooks, and OpenAI API (ChatGPT). A quote generator is a fun tool to play with whenever you want to find an inspiring quote said by famous individuals. A quote generator can also be used in productivity apps to inspire users on their progress.
Let’s dive in and start building a simple quote generator with React JS.
Design And Requirements
These are the design and requirements to build the random quote generator.
If you want to build the application on your own without following the guide, you can refer to this section to successfully build the quote generator.
Design
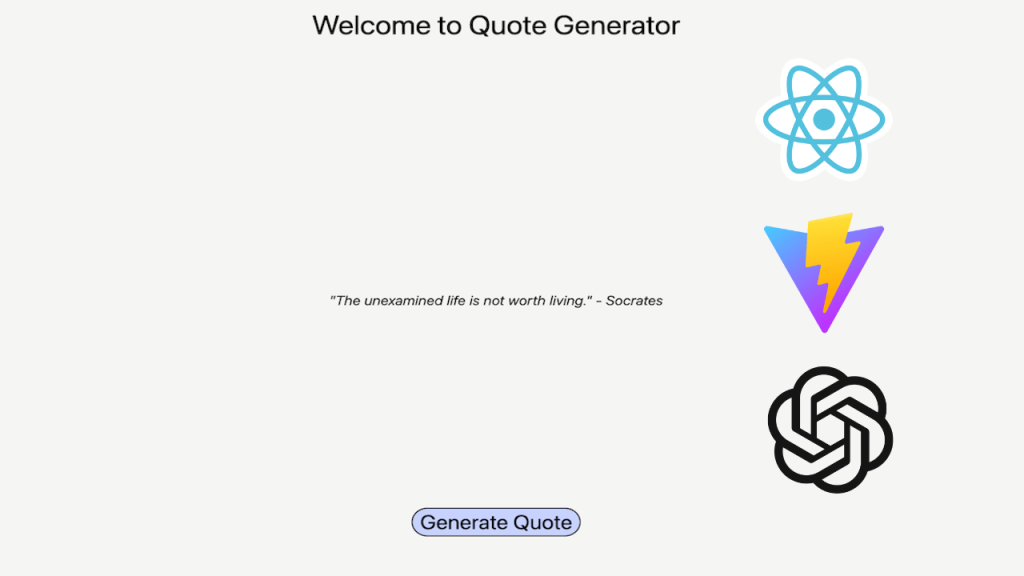
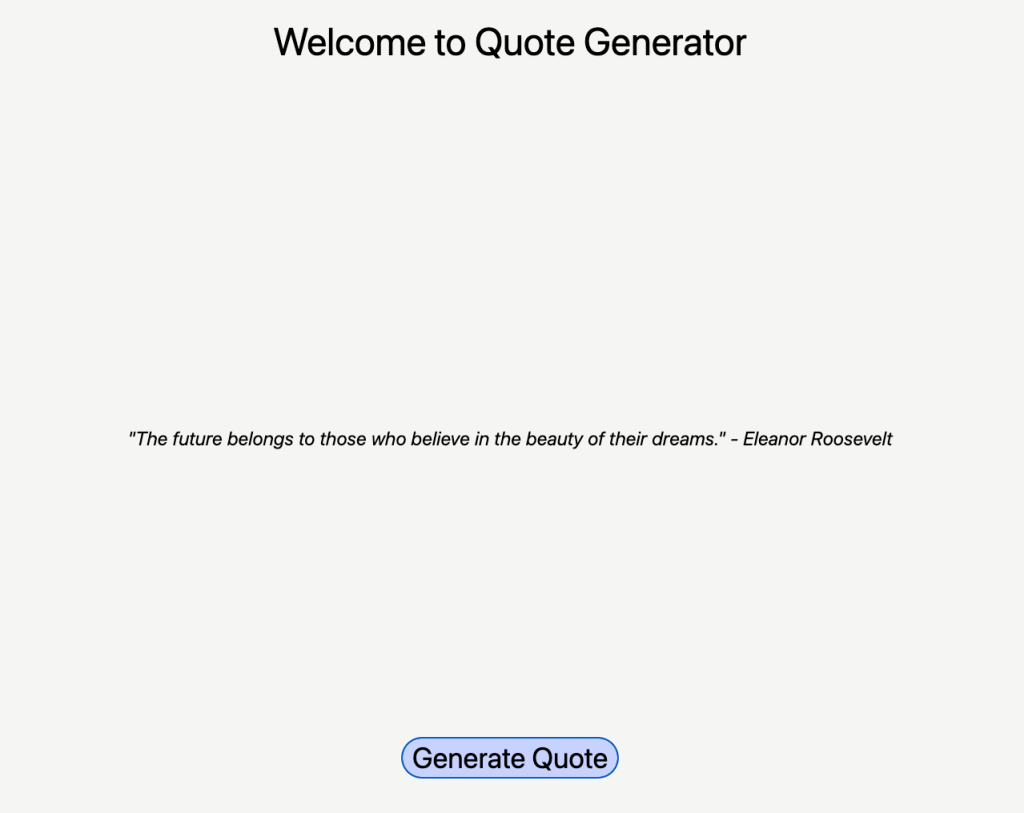
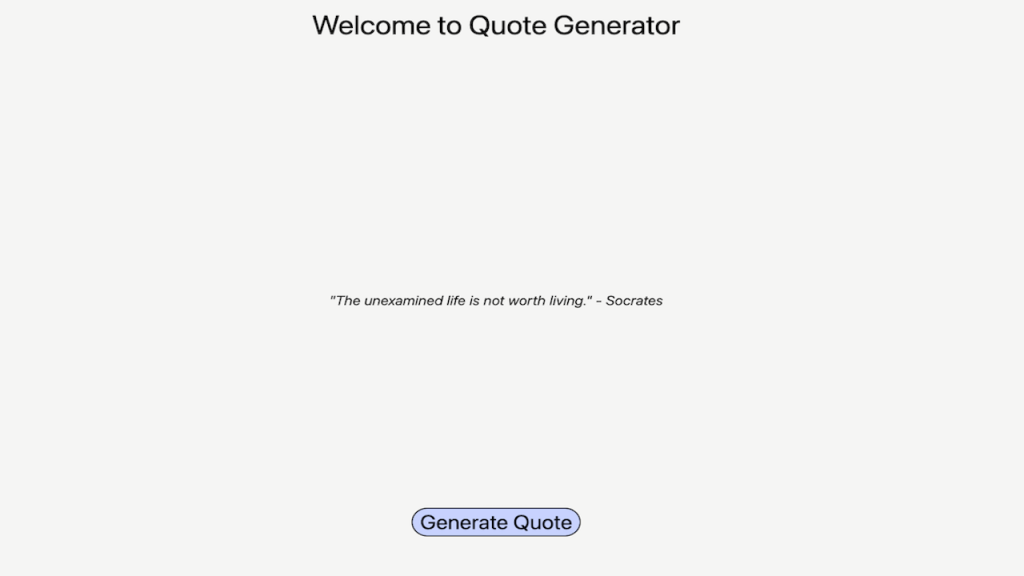
The image below is the final outcome of our image slideshow application.

Feel free to use your choice of font, font size, color, etc if you want to change the appearance of the application.
If you want to learn by following the step-by-step tutorial, then you can use these design elements I’ve used.
– Background color: bg-stone-100
– icons: TbLoaderQuarter from react-icons
– Title font: text-5xl
– Quote font: text-5xl italic
– Generate quote button: text-4xl, rounded-full, py-1, px-3, border-2, border-black, bg-indigo-200
Requirements
These are the requirements of the random quote generator application.
The random quote generator can:
– Fetch 10 inspiring quotes when the generate quote button is first clicked
– Show another quote by clicking the generate quote button if the data has been fetched previously
– Show loading icon and message when the quotes haven’t been fetched
Since we have the design and requirements all laid out, let’s get our hands dirty and start building the random quote generator application.
I explain each step with the corresponding code examples, but if you want to check out the whole code of the image slideshow application, you can visit the Image Slider GitHub repo.
Setting Up React App
We are going to use Vite as our scaffolding tool. Below are the steps to set up the Vite application.
First, check whether npm and node are installed on your local machine.
node -v
npm -v
If they are not installed, please check out the section scaffolding with Vite from Word Counter and install them.
If they are installed, run this command to scaffold the project.
# For npm version 7+
npm create vite@latest quote-generator -- --template react

# For npm version 6.x
npm create vite@latest quote-generator --template react
Now, run these commands to start the local server.
  cd quote-generator
  npm install
  npm run dev
The command npm run dev will start running the local server. If you open the link provided, you should be able to see the running React JS app scaffolded by Vite.
Install TailWind CSS
For the previous two projects we’ve done, we used plain CSS to design our applications. From this tutorial, we are going to use the TailWind CSS framework for the quote generator application.
The TailWind CSS is a framework for CSS like Bootstrap, Semantic UI, etc if you ever heard of them. Using TailWind CSS makes our lives so much easier due to its simplicity. On top of that, it has beautifully written official documentation.
Here is the step-by-step guide on how to install the TailWind CSS in the Vite app.
If you want to stay on this blog instead of going to the installation website, then follow these steps.
First, since we’ve already created our project, we are going to install the necessary packages.
npm install -D tailwindcss postcss autoprefixer
npx tailwindcss init -p
These commands will download the necessary packages and generate two files – tailwind.config.js and postcss.config.js.
Second, modify the tailwind.config.js.
/** @type {import('tailwindcss').Config} */
export default {
  content: [
    "./index.html",
    "./src/**/*.{js,ts,jsx,tsx}",
  ],
  theme: {
    extend: {},
  },
  plugins: [],
}
The content is modified in this step.
Third, add @tailwind directives in your index.css file.
@tailwind base;
@tailwind components;
@tailwind utilities;
These will add all of the features that are provided by the TailWind CSS into your project.
Finally, run the server. If you are already running the server, the changes will not be effective right away. So, close the server and restart the server.
npm run dev
Implement Basic Components And CSS
This section covers the basic components and CSS of our app. Additional components and CSS will be added accordingly to each section as we build the random quote generator app.
Let’s delete the things that we don’t need for the random quote generator app. You can delete everything in App.css and index.css.
Implement App.jsx
We are going to use App.jsx as our main template to build the HTML structure of the app.
Since we are using the TailWind CSS, we don’t need a separate CSS file. It allows us to directly apply the styles within className each HTML tag. So, we don’t need any separate CSS files. How simple is that!
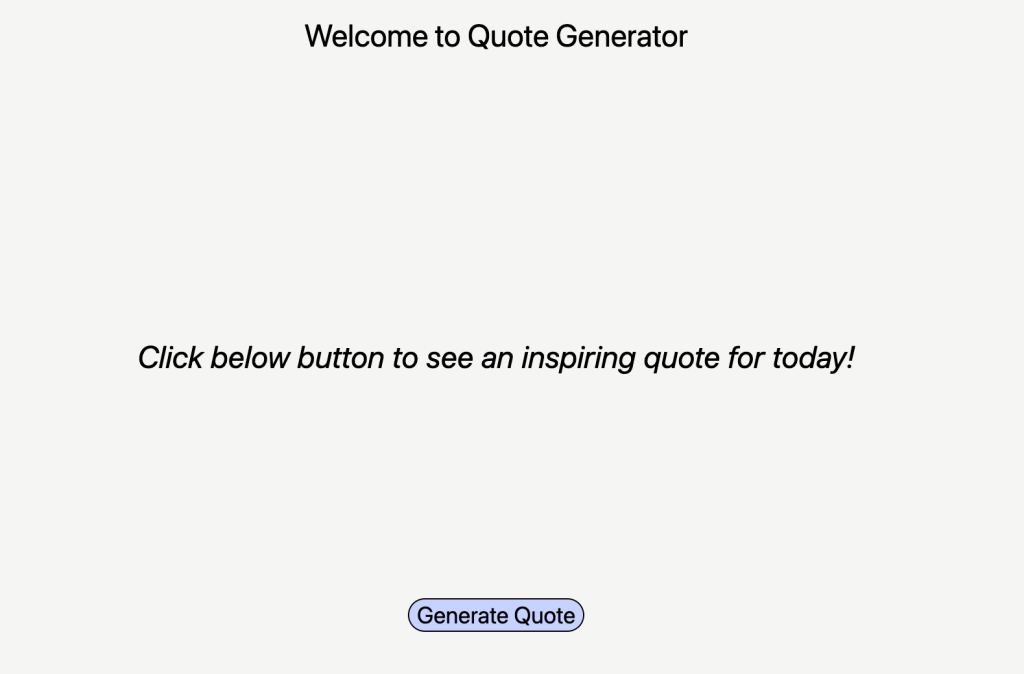
If everything is working fine, your app would look like this.
Set Up And Configure To Use ChatGPT
This is the most fun and challenging part of this tutorial. We are going to make a request to the OpenAI API and fetch the quotes to display in our quote generator application.
Generate an API key
In order to make a request to the OpenAI API, we would need to have an account for the OpenAI API site. They provide the SSO (single sign-on) feature so it’s fairly easy to register. The reason why you need to register is that we need an API key they provide to make a call.
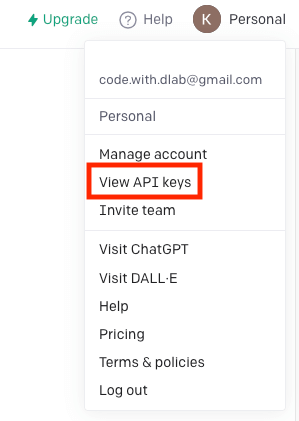
Once you are registered, and signed into the OpenAI API, click on the profile in the top right corner, and click the View API Keys.
Then create an API key, and copy the generated key to somewhere safe in your machine. We are going to use this key later in the app.
Store the API key in the .env file
In JavaScript applications, using dotenv package and .env file to store secrets and environment variables is very common.
In order to use .env file, we would need to install dotenv package if we were building a normal JavaScript application, however, since we are using Vite, we don’t need to install dotenv package.
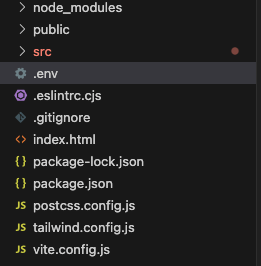
So, let’s go ahead and create a file called .env in our root path.
Then, let’s put the API key that we generated into the .env file.
How do we use this secret in our code base? Vite has a different way to retrieve a secret or a variable than dotenv . If you are using dotenv, you would probably do something like this: process.env.VITE_OPENAI_API_KEY. However, in Vite, you can retrieve it like this: import.meta.env.VITE_OPENAI_API_KEY. If you want to read more about the env variables in Vite, you can visit the Vite guide for env variables.
IMPORTANT: If you are using Git to manage the code, make sure to add .env to the list of .gitignore. This is extremely important to prevent the secrets to be exposed outside the world.
Install OpenAI library
We need to install a node package in order to make a call. Run the command below and install the package.
npm install openaiConfigure and make a test request
Now that we have an API key and openai package installed, we can actually make a request to the OpenAI API.
Like any other API call, we need to configure our request options. Then we need to include the prompt for ChatGPT to reply. Let’s make a request when our button is clicked, and display the response in our console.
Let me explain what happened here. We’ve created a onClick handler. Inside the handler, we’ve created a new Configuration object with our API key and a new OpenAIApi object with that configuration. Then, we decided what options and a prompt we are going to send in our request. If you are wondering about those options, here is good official documentation from the OpenAI API. Finally, we locate the actually useful content from the response body and log that in the console.
Here is the response that I’ve got.

Hooray! We’ve made our test request and successfully received the cat joke 🙂

Refactor the code
It’s great that we get the cat joke of the day, but at this moment, all of our code is in App.jsx. Keeping everything in one file is almost never good practice in programming because it’s not really reusable and makes other developers’ lives difficult. So, let’s refactor the implementation of configuring and setting options into a different file.
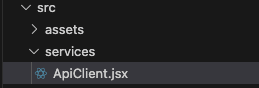
Let’s create a folder called services under src folder. Then create a file called ApiClient.jsx under services folder.
Then, we are going to create some methods for the configuration and options.
As a result, we would need to change the App.jsx as well.
Looks so much cleaner than having all the code inside the App.jsx right?
Fetch Quotes And Display
NOTE: I noticed that the response we get from the OpenAI API is not always as we expect it to be. OpenAI API (ChatGPT) is a generative AI, which collects data from all over the internet. I’m suspecting some of the sources might have been corrupted and this causes ChatGPT to give us a bad response. You can probably get a better response with more fine-tuned prompt. I’m not an expert on how to write a prompt, so if you know a better way to write a prompt, please leave a comment below.
Since we know that we can make a request and get a response from the OpenAI API successfully, let’s change the prompt and retrieve 10 quotes. But let’s think about what our random quote generator app is supposed to do. The following points how our app is supposed to flow through.
1. Click on the generate quote button. If it’s the first time making a request, then make a request and fetch 10 quotes. Save the 10 quotes in our application.
2. Once we fetch 10 quotes, display the first quote on the screen.
3. If the generate quote button is clicked again, display the second quote out of 9 quotes that haven’t been displayed. We keep displaying quotes until we reach the last quote.
4. Once the generate quote button is clicked when every quote that we have (10 quotes) has been displayed, then make a new request to the OpenAI API.
5. Fetch another 10 quotes and display the first one.
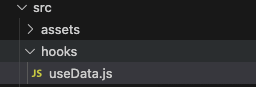
We are going to create a custom hook to do most of our job. If you are wondering what a custom hook is, here is awesome documentation with detailed examples. Let’s create a folder called hooks under src folder. Then, create a file called useData.js under the hooks folder.
The useData.jsx hook has several states and methods and we are going to export some of them for other components to use. The generateQuote method handles the logic of whether we need to make a new request or just render a quote that we have. The makeRequest method is self-explanatory. We make a request to the OpenAI API with the options and the prompt and we set the states accordingly. The findNextQuote method moves the currentIndex state forward.
Since we made some changes to the methods, we also need to make changes to other components such as App.jsx
The App.jsx is nice and simple now. The handleOnclick method is just calling the generateQuote method from the useData hook. Then we are rendering one of the quotes that have the currentIndex. Now, If you click the generate quote button and wait for a bit, then voila!
Refactor code into Quote component
The random quote generator app can display a quote successfully. In our app, there is only one place that we display a quote, however, what if we need to display a quote in multiple different places? This is when refactoring code into a separate component becomes useful.
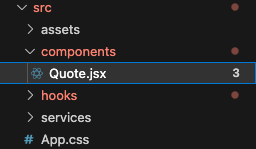
Let’s create a folder called components under the src folder. Then, create a file Quote.jsx under the components folder.
Then, we modify the App.jsx to use this Quote component.
Now, whenever we want to display a quote somewhere else, we can just use <Quote /> component with props if needed.
The main features of our random quote generator app are done. It displays a quote when a button is clicked, and makes a request if we need to fetch new quotes. However, you might have noticed that there are some delays between the moment we click the button and a quote is displayed. As a person who developed the app, you already know that the delay is because of the time it takes to fetch the data, but would other users know? Probably not. This is why we would need the loading icon and message.
Add The Loading Icon And Message
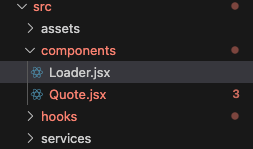
Just like we did for the Quote component, we are going to make the loader a separate component. Let’s create the Loader.jsx inside the components folder.
We are going to use an icon from the react-icons package. Let’s install the package first.
npm install react-iconsThen, we use it in our Loader.jsx component.
Note that we have animate-spin in the className for our icon. This gives the icon an animation, which is spinning. This is one of the perks of using the TailWind CSS. We don’t need to write a separate CSS animation.
In the App.jsx, we use the Loader.jsx component.
Amazing, you should be able to see an animated loader and a message while the quotes are being fetched from ChatGPT.
Conclusion
Great job on following through until the end. This wraps up our third React JS step-by-step tutorial.
From this tutorial, we were able to learn:
– How to set up React JS with Vite
– How to call the OpenAI API (ChatGPT) with custom configurations
– How to implement and use a custom hook
– How to refactor code as separate components
If you want to improve your skills more, feel free to implement some additional features on top of the random quote generator app we’ve built. Some ideas that I can think of to improve this app are like following:
– Create a user input box and change the prompt so that users can get different types of quotes (i.e. inspiring, funny, etc)
– Get a more accurate response by doing more fine-tuning on the prompt
– Add a dark mode feature
I hope you enjoyed building the random quote generator app and thank you again for reading. If you are interested in building more React JS projects for beginners, then you can check out our 10 Best React JS Projects For Beginners In 2023 post.
If you have thoughts on this, be sure to leave a comment.
I also write articles on Medium, so make sure to check them out on medium/@codingnotes.
Happy coding!